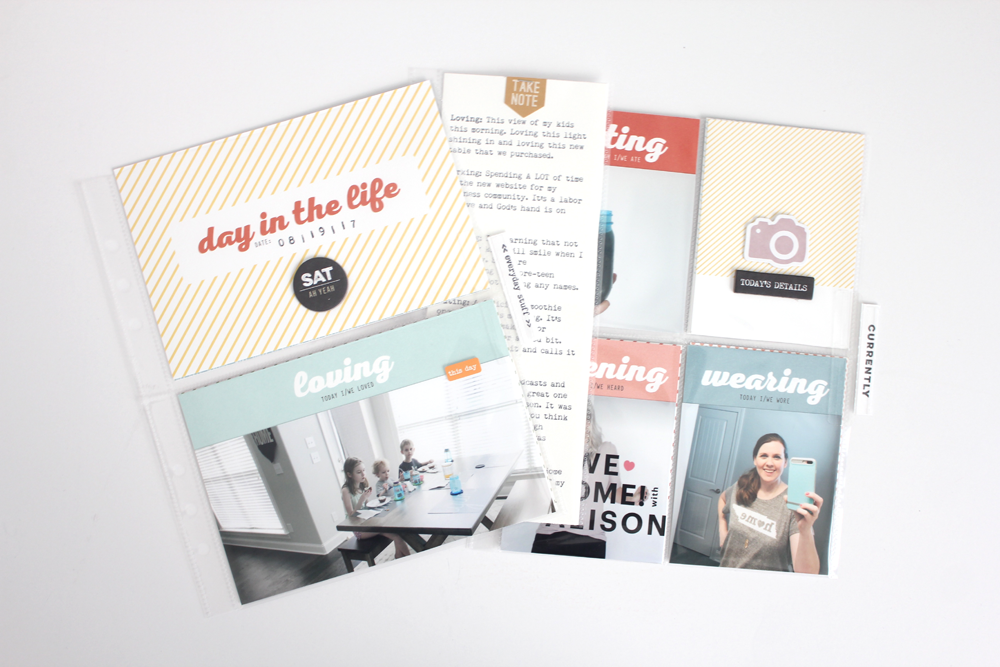
Morning, friends! My Day in the Life that I documented last month is finally all done (I had to reprint something and well, I kept putting it off, but SO glad it’s done now) and I wanted to share it with you! I always love doing these documentations because 1) it’s super simple and doable to document ONE day and 2) it’s always so much fun to look back and see just what a normal day in our life looked like! I highly recommend you trying it if you haven’t already.
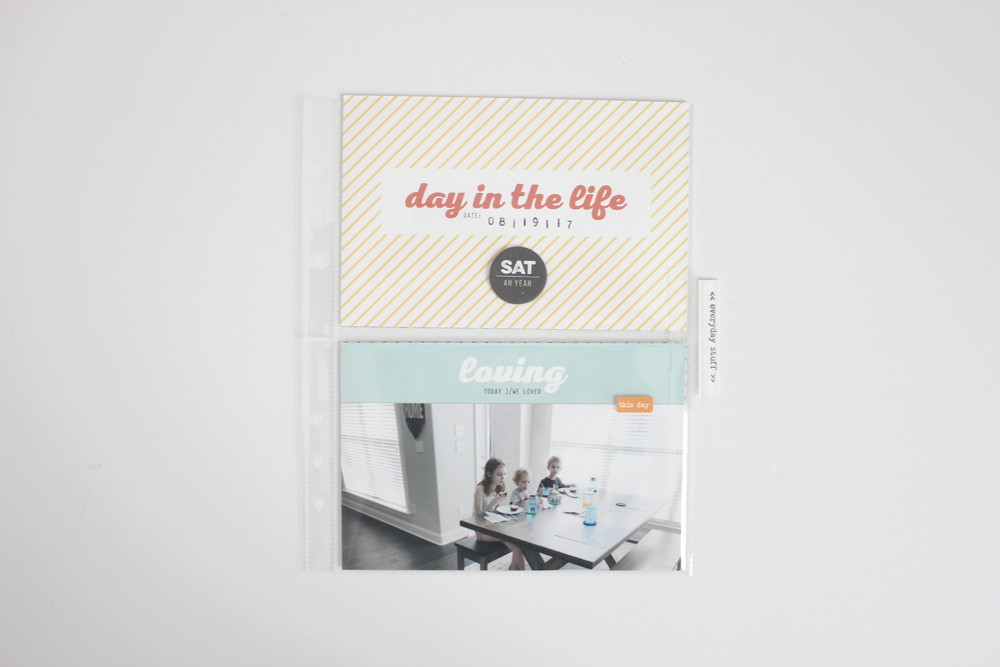
For this project, I used 2 6×8 page protectors that I had and one 3×8 page protector as well. The first 6×8 page protector has 4 4×6 slots in it and so it was perfect to slip in the title card and then three 4×6 cards from Ali’s mini kit.
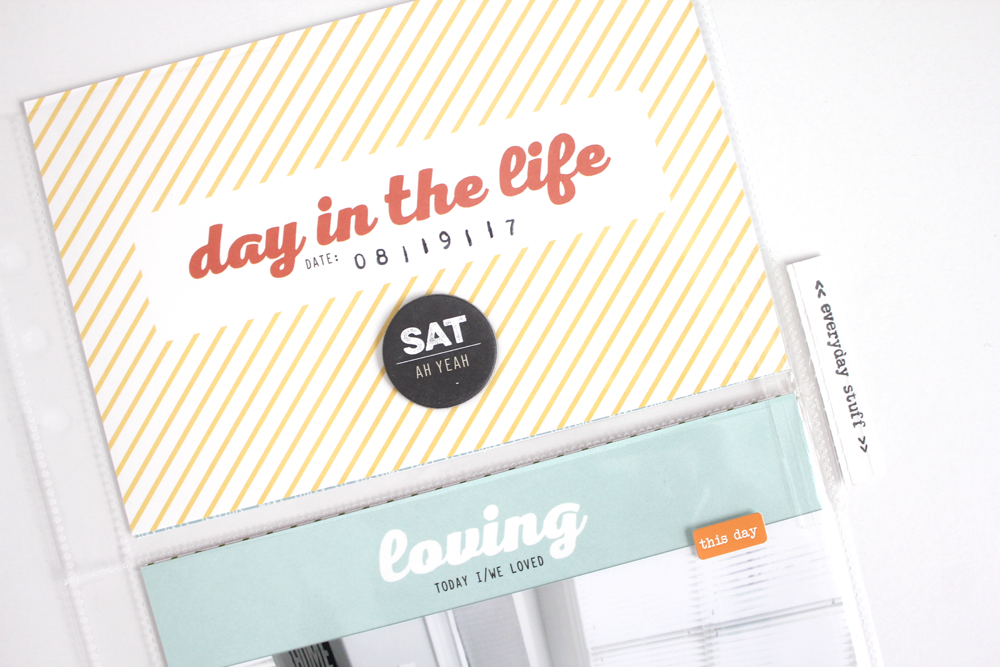
Here’s a look at the front. I used the title card, the Project Life date stamp and then a chipoard piece and sticker from Ali as well.
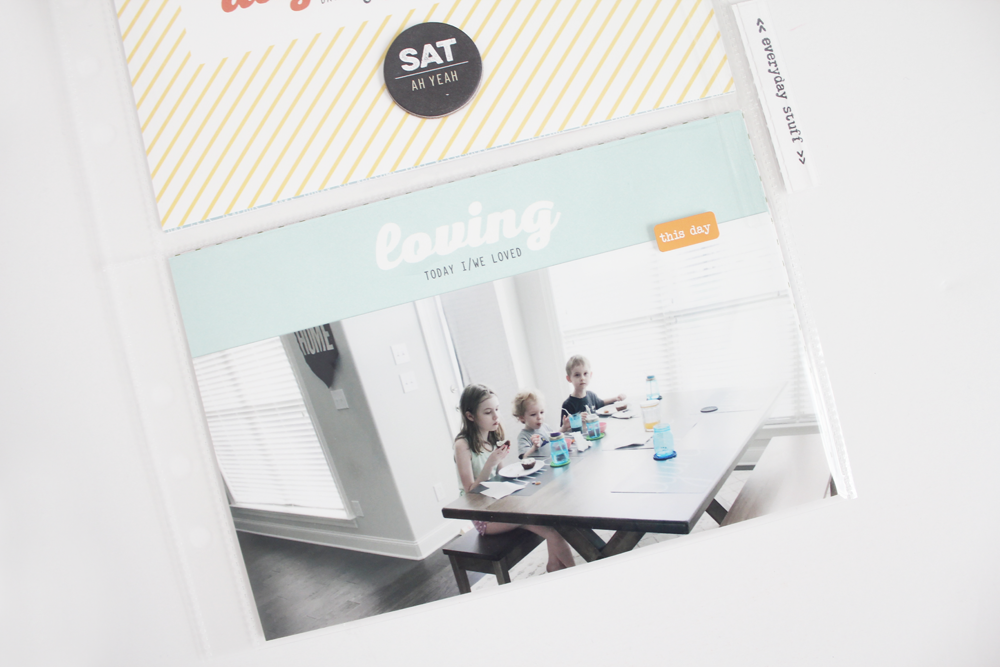
Here’s the backside of that page protector. There’s more photos (that I cut to the size of the empty space of each 4×6 card in the kit) and then of course a couple simple embellishments. I did use the Avery tabs as well on this project. I love how it makes the pages easier to turn and let’s face it – I’m obsessed with using them, especially on smaller projects like this.
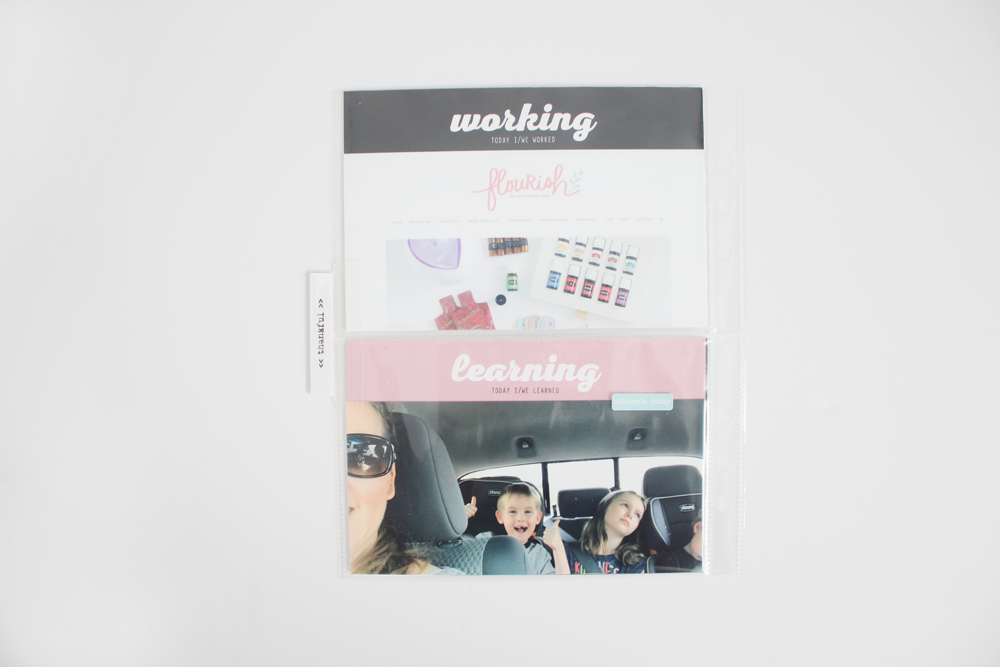
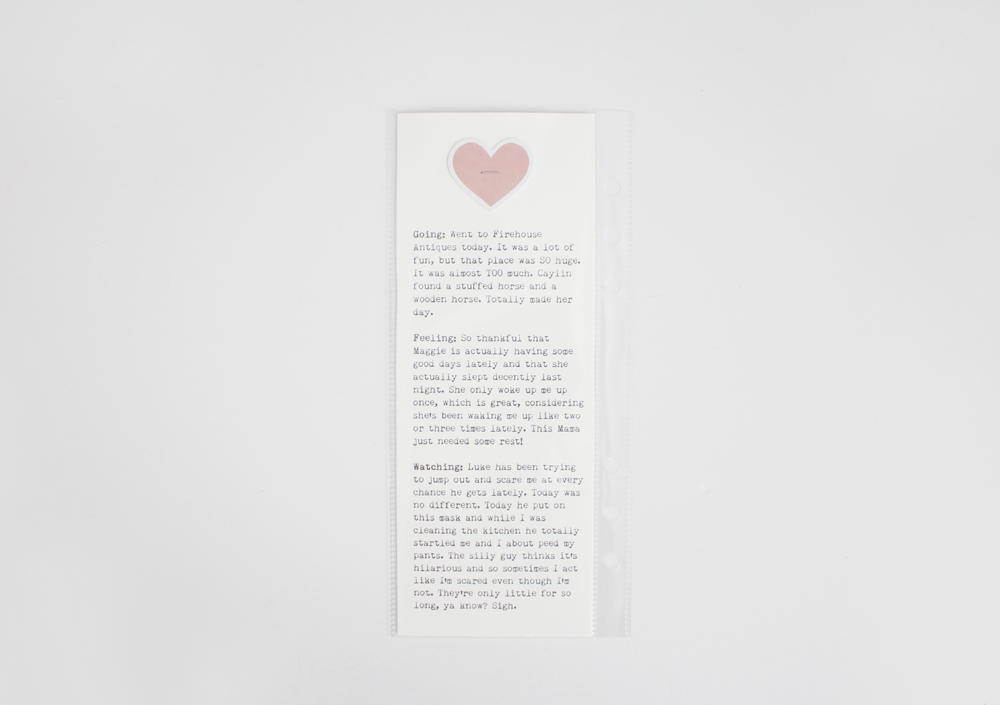
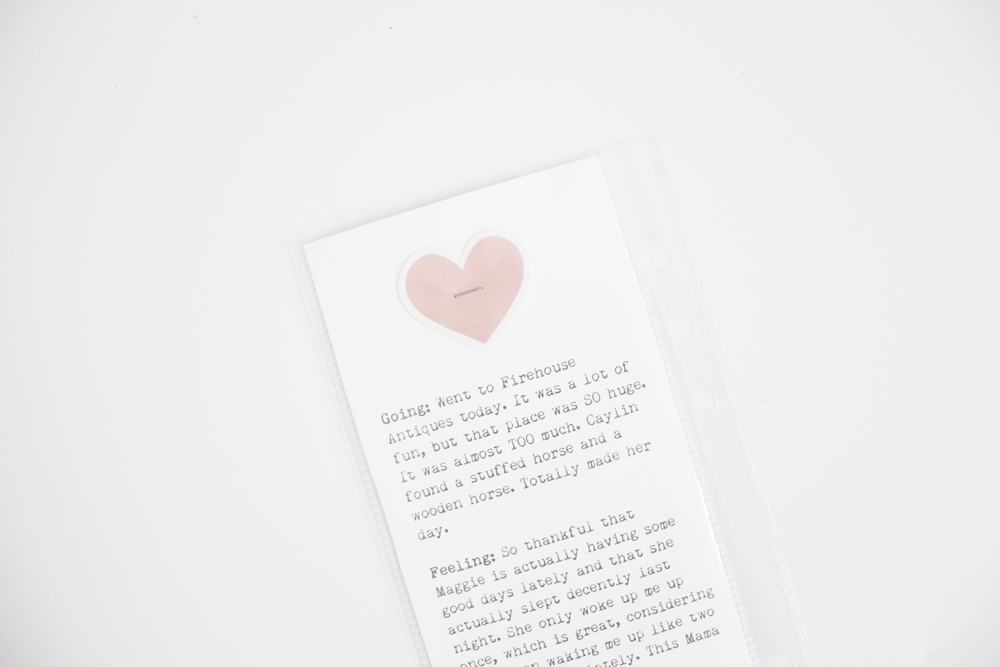
When I was thinking about how to document my day, I decided to put the journaling altogether on one sheet and decided to use a 3×8 page protector to print it on.I didn’t want to add anymore pages to this documentation (simple was KEY for me) and so this was the way to go and I really do love how it turned out!
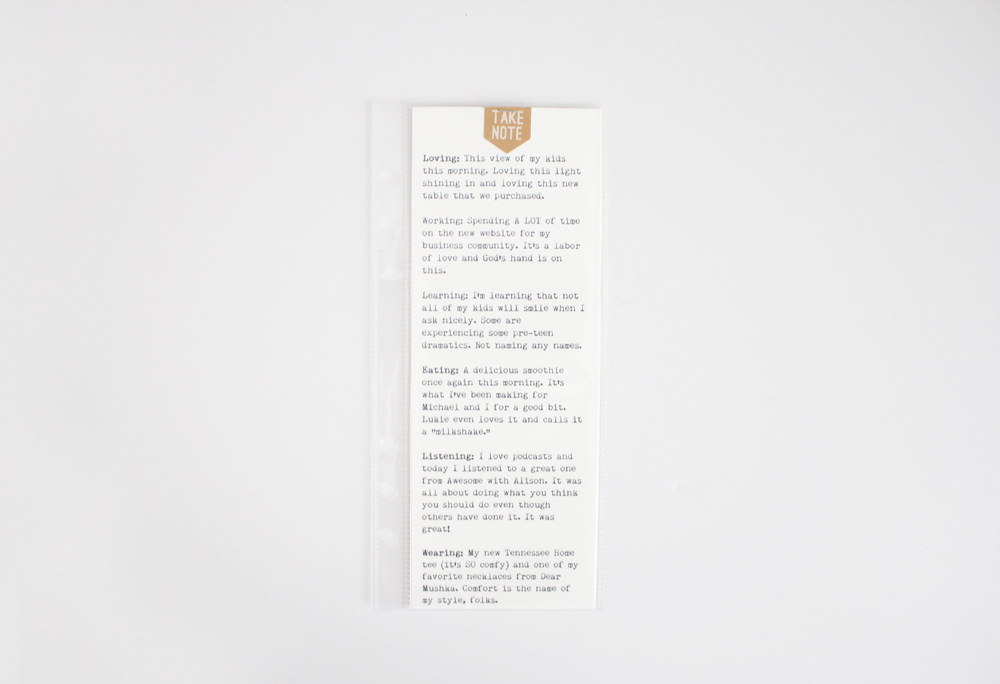
I just typed all of the “ing” words and then put my journaling for each photo next to it.The “TAKE NOTE” sticker that I stapled on top is from Gossamer Blue.
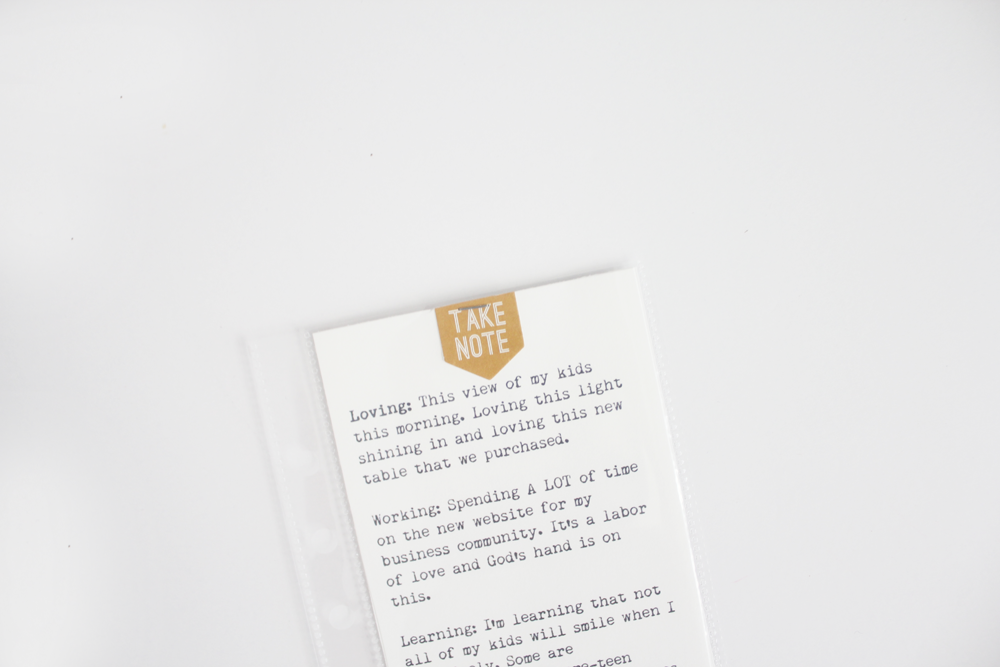
Here’s a shot of the other side of the journaling. I just continued it and then put one of the die cuts from the DITL mini kit on the top. Once again – whipped out my tiny attacher and had at it. ;)
The other 6×8 page protector had 8 3×4 slots for photos and so that one was perfect for all of the other 3×4 cards that I was using for this documentation.
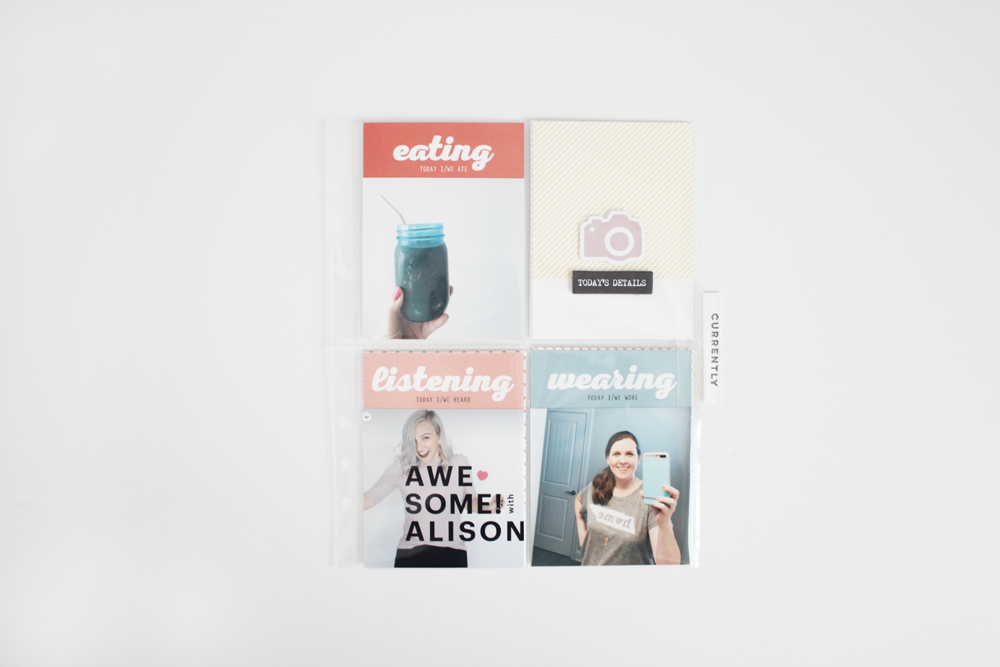
Once again I simply printed out the photos to the size of the empty space on the cards and adhered the photos.
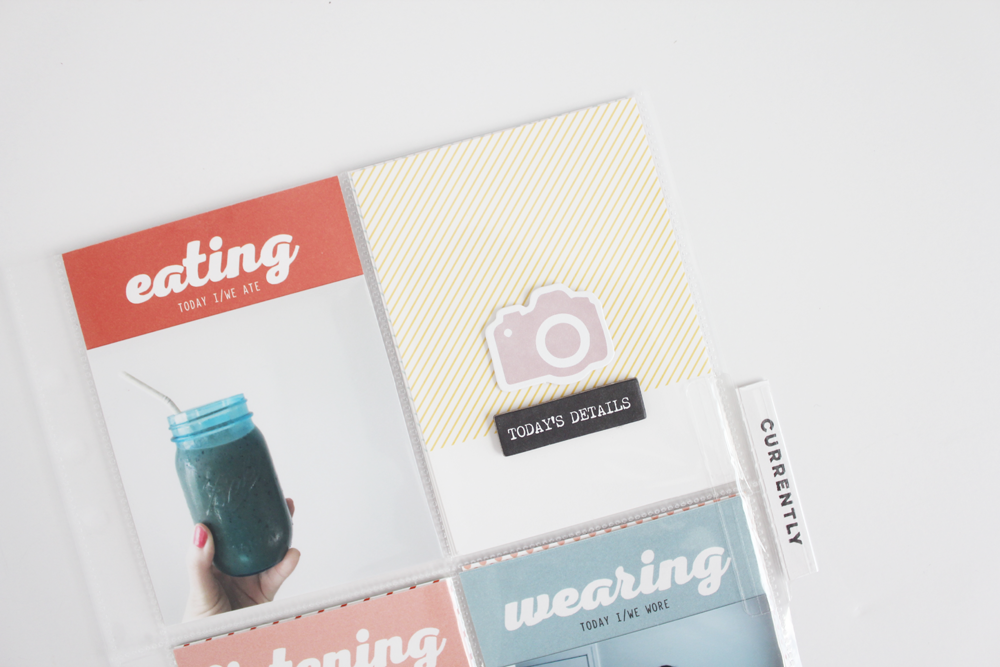
I used the camera die cut from the kit, added a chipboard piece that I think is from Ali, too (not 100% positive) and then also used the Avery tab again. Here’s the back of the page protector. I’m eventually going to highlight “GOOD” on that tab, but couldn’t find my highlighter! Ha! I added a couple of simple embellishments again.
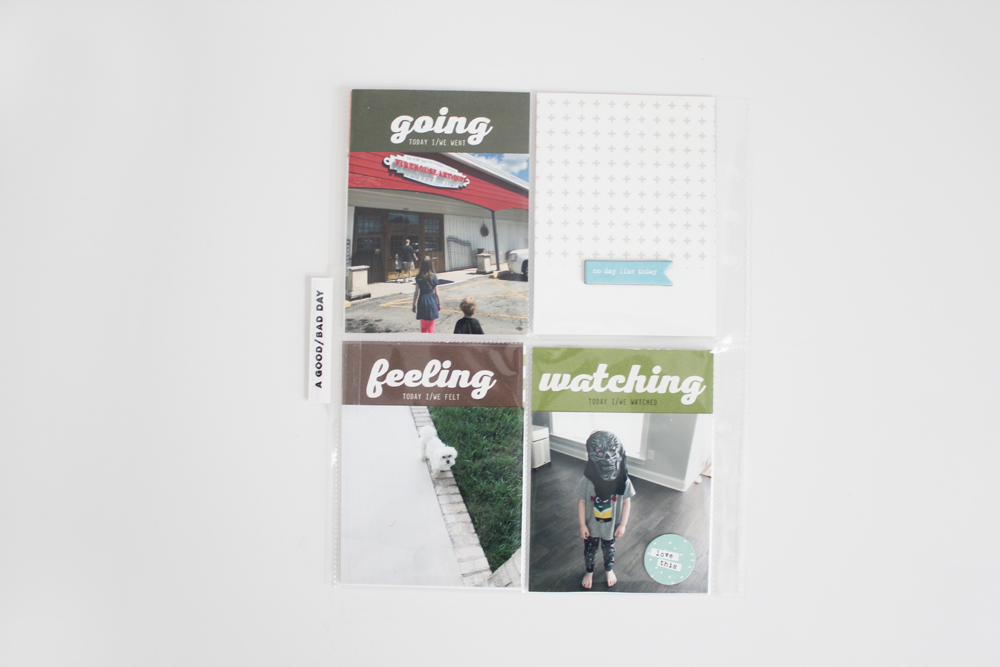
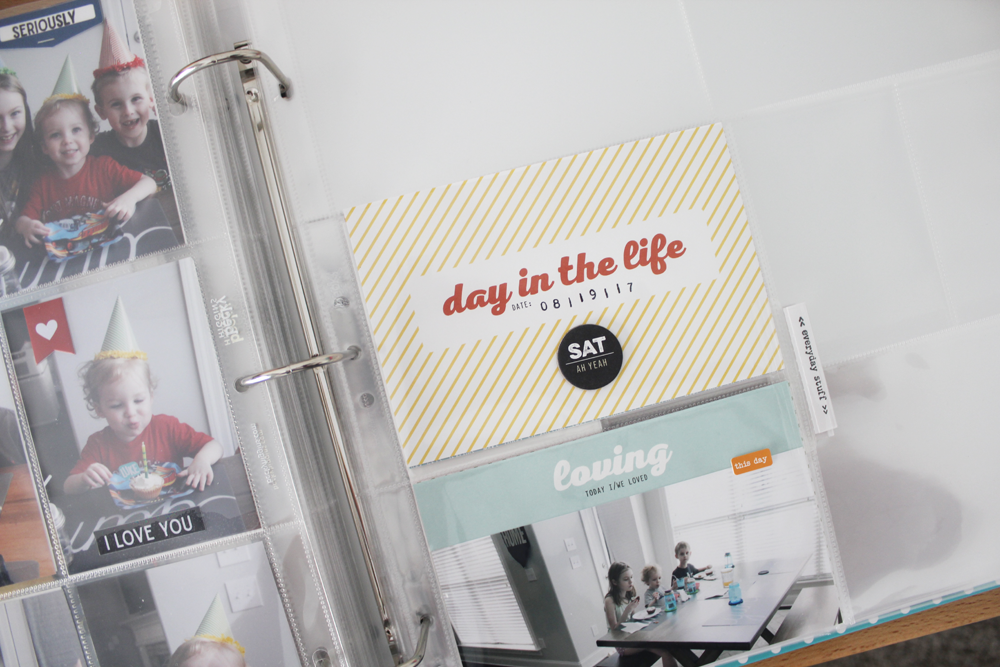
This project is just being slipped right into my Project Life album as you can see. Simple, easy and DONE. Just the way I like it.
Y’all, this project was fun, it’s doable and if you just keep it simple and get the photos and words down – I know that you’ll be so thankful that you did and it’ll be a project that you doing every time Ali does it throughout the year. Day in the Life, Week in the Life and December Daily have really become those core life documenting projects that I am really loving every year. Even if you can’t do Project Life all of the time, I really encourage you to do what you can and then add in life documentations like this when you’re able to. Your family (and YOU) will love it.
Have a blessed day, friends!
XO!
If you’d like to learn more about Day in the Life, check out Ali Edwards’ website HERE.
