
Happy Friday, friends!
Today I’m going to start sharing my WITL album with you all! I’m finally done and so I’m happy to be able to share it now! Yay! This was my very first WITL album that I’ve done and it definitely won’t be my last. If you haven’t heard of WITL before – you can find out more information about it at Ali’s website HERE. I highly recommend checking it out (and the rest of her website). It’s all SO much fun and so inspiring!
Ok, so here we go!
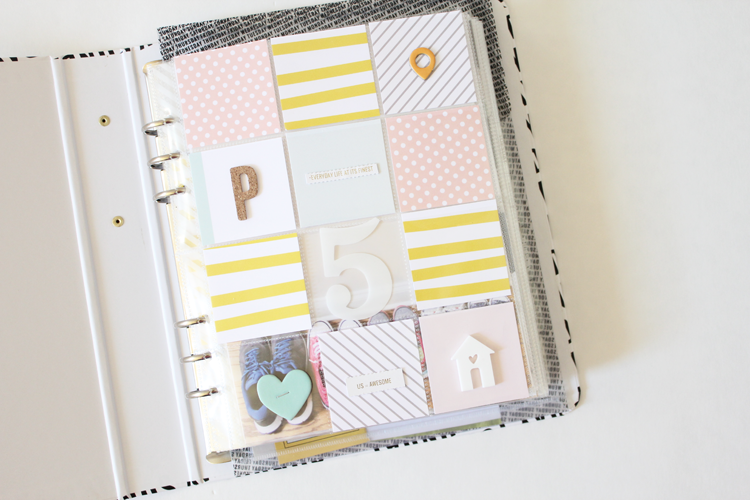
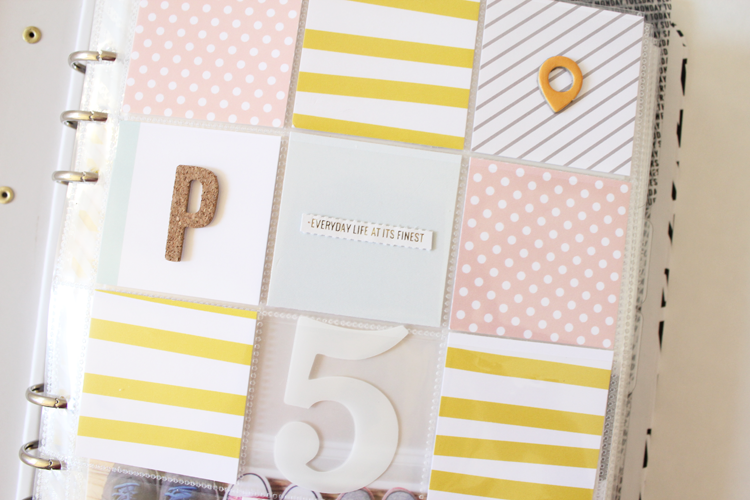
I wasn’t sure exactly what I was going to do for my opening page of the album, so I saved it for last. Ha! I decided to use the leftover pieces of patterned paper that I didn’t use IN the album and trim them to 2×2 and slip them into the pockets of the first page. I even cut up a few of the 3×4 cards that I didn’t use to help it all coordinate. I then used a corkboard P (for our last name – from Studio Calico some months back), some chipboard from the kit, the vellum “5” to signify the number of people in our family, some of the little perforated strips and then a little white acrylic house from Elle’s Studio.
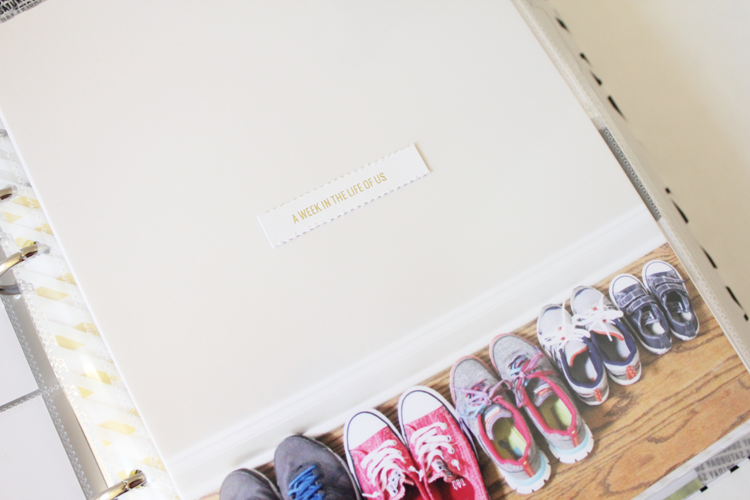
Here’s a few closeups of the opening page:
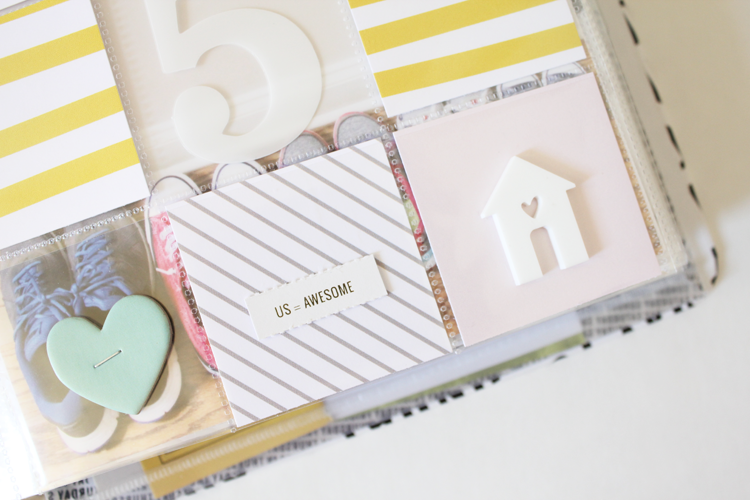
For the large 6×8 photo – I wanted to include a photo that was US and well, since we haven’t had a family photo shoot in a bit and just keeping it real here folks – we didn’t have time to another one right now – I saw someone on the WITL Facebook page post a super cute idea where they took a photo of all of their family members’ shoes lined up. I really loved how that showed the family in a unique, cute way and so I totally copied that. Ha! Shout out to the person who mentioned it! LOVE the idea and I love how we can be inspired by so many creative people!
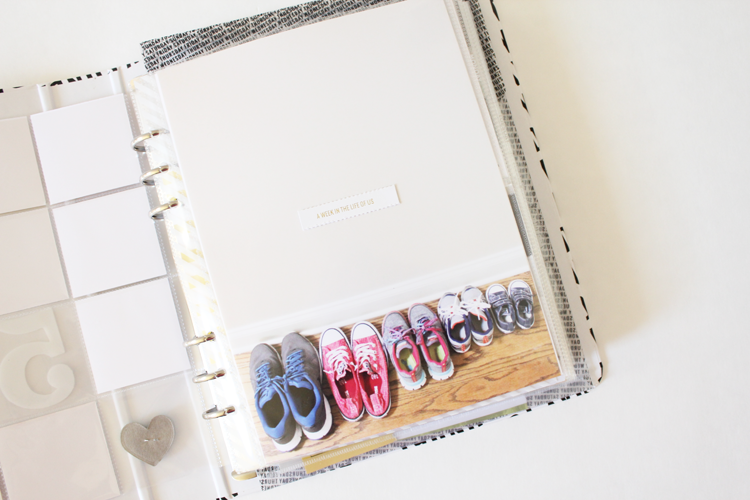
I added the little “A WEEK IN THE LIFE OF US” strip in the white space of the photo as the title page. :)
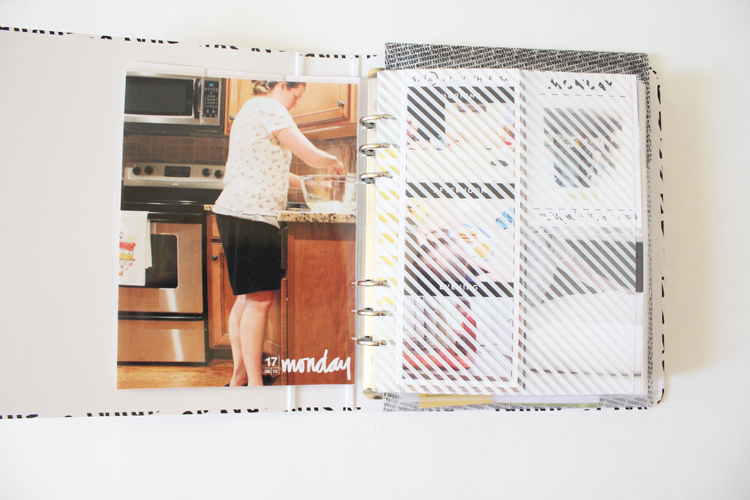
Here’s the first page. I used Ali’s digital brushes (love them) and placed them on the large 6×8 photos that I did in the album for the start of each week. I loved how Ali had her album set up, so I followed a very similar order to my pages.
After the first day of the week’s large 6×8 photo, I used the page divider and then slippped in the 3×8 morning, afternoon and evening card.
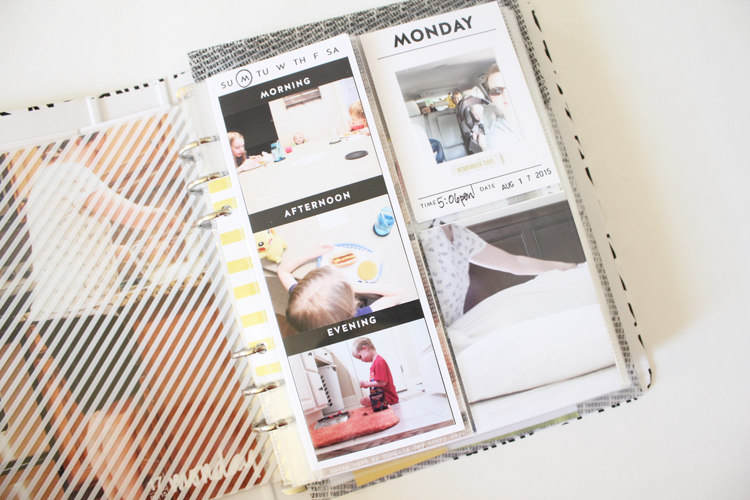
On this first day of the WITL, I took quite a bit of photos (you’ll see later that I slowed down, LOL) and so I had pictures I could add to this little insert.
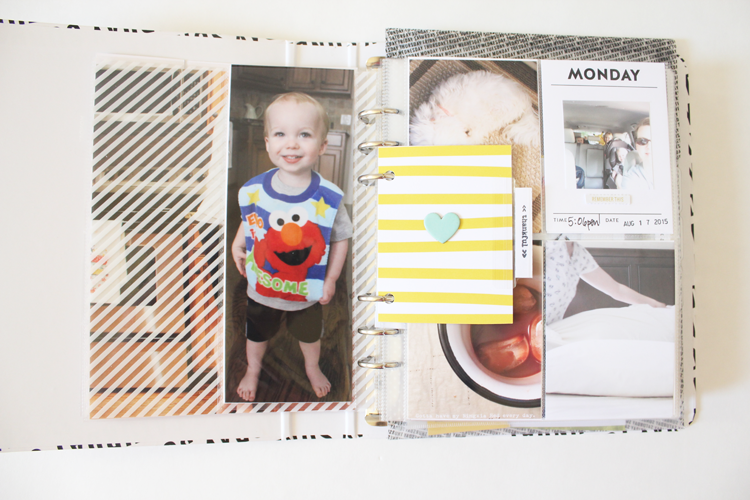
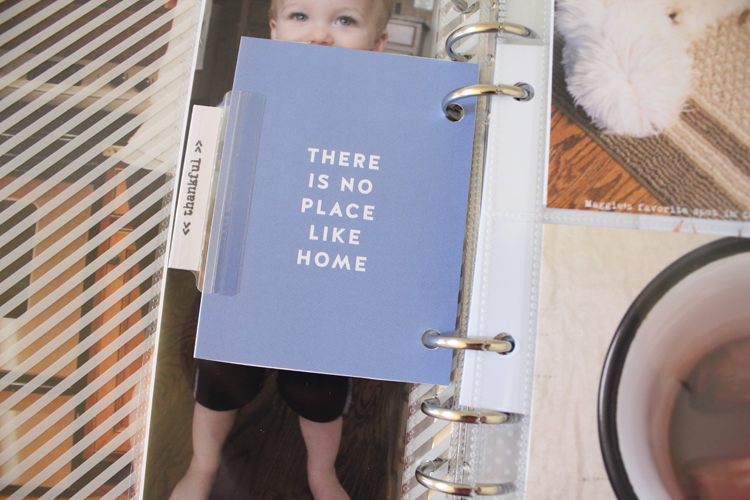
I used this photo of Luke for the back of it. :) I then took a couple of the 3×4 cards in the kit, glued them together, punch some holes in them to fit it in the album and then used one of the heart chipboard pieces on the front. I also used an Avery tab on the card and stamped on it using the stamps that came in the WITL kit. 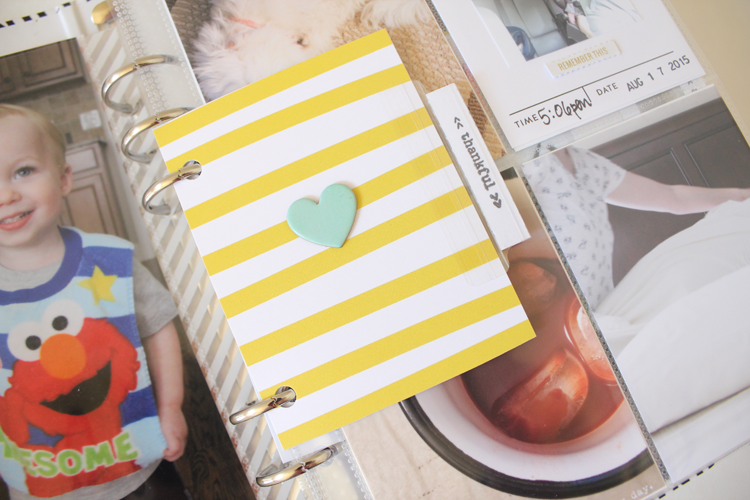
I loved how the Avery tab allowed a place to grab a hold of the card and flip it over. Loved the different layer texture that it added to the album, too.
After the 3×4 card insert that I made, I then added the 4, 3×4 page protector. I put the day of the week card in the top right corner every week for consistency. :) Sometimes I added text onto my photos as well. Not every time, but here and there.
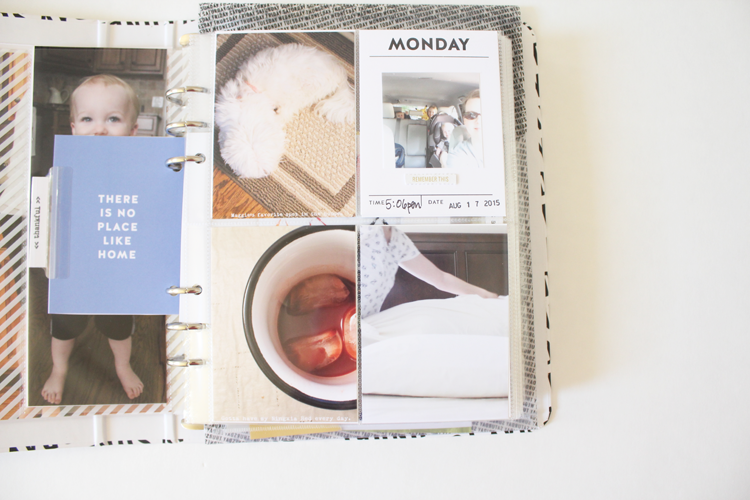
Here’s the back of that page protector with more photos, journaling and embellishments from the kit.
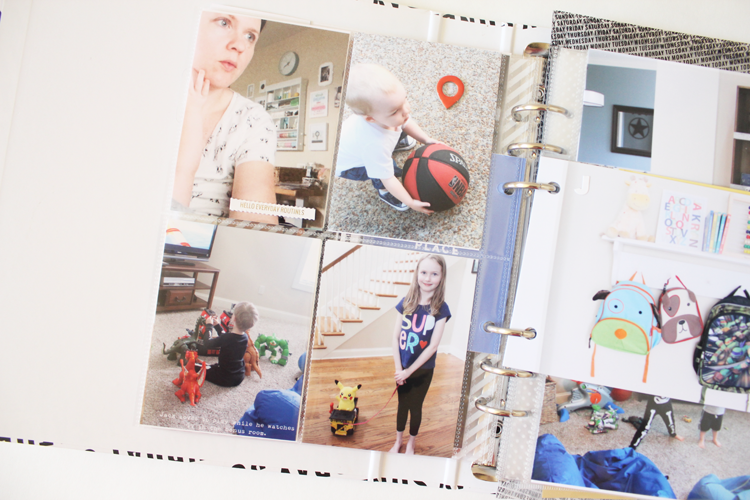
Then I wanted to include a few more photos that I took, and so I took some 4×6 photos, glued them together and then punched holes in them – just like I did with the 3×4 cards. This is a picture of a spot in Jack’s room. I included the Avery tag with a stamp on it and also a “J” letter sticker from the kit.
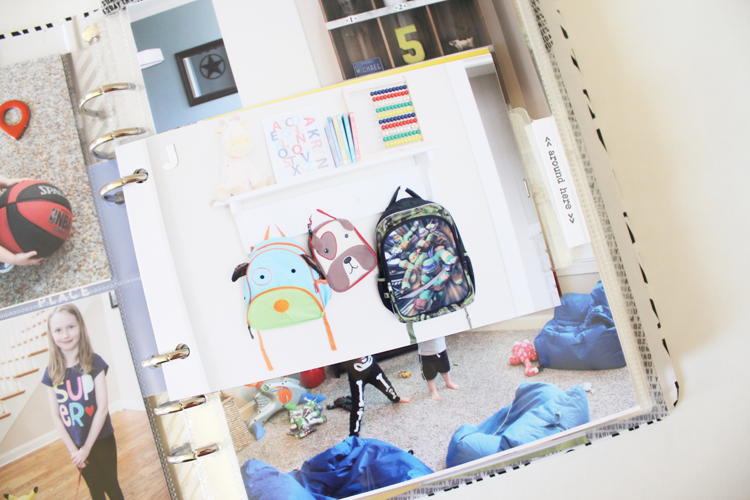
This is the back of that photo – it’s a photo of a spot in Caylin’s room. I included a “C” on this photo for her. 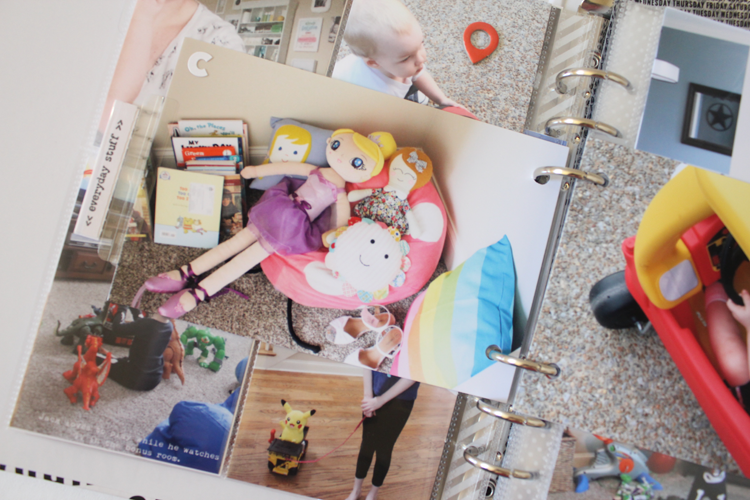
Here’s another 4×6 photo that I wanted to include that I stuck in here with another photo on the back.
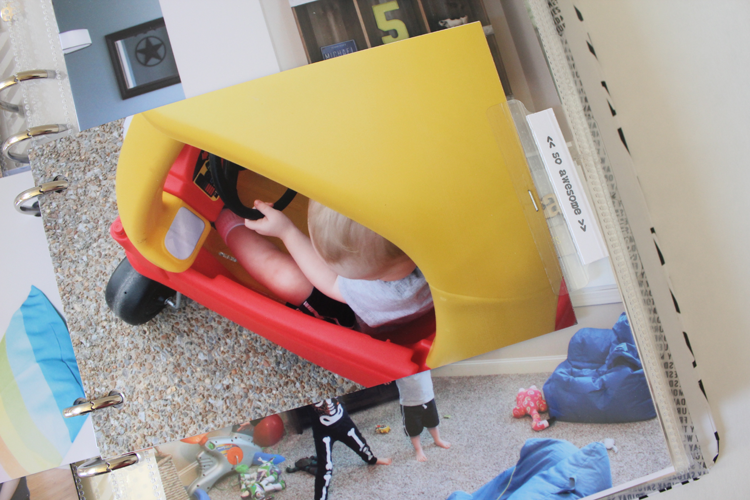
Here’s the backside of that previous photo. I still need to write something on that sticker label. Whoops. Just realized that! ;)
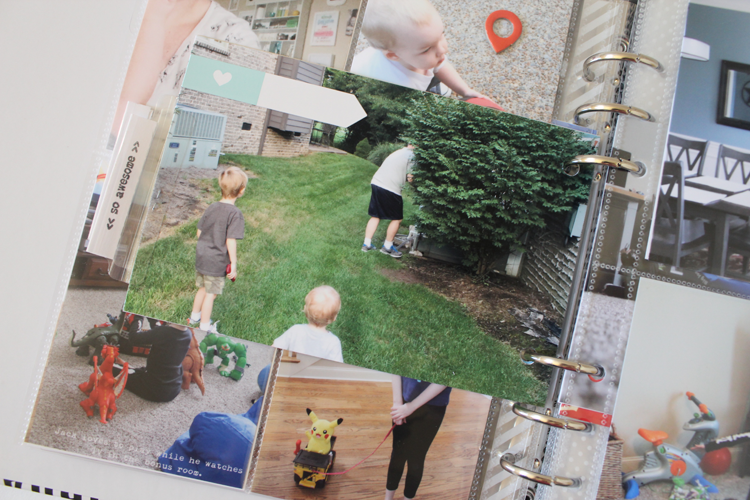
Then I included the 2 4×6 photo page protector into the album next. I also included the wooden day of the week word piece as well.
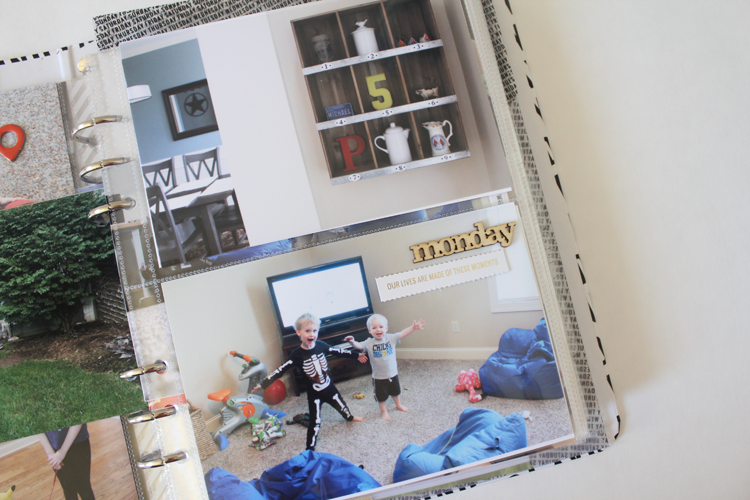
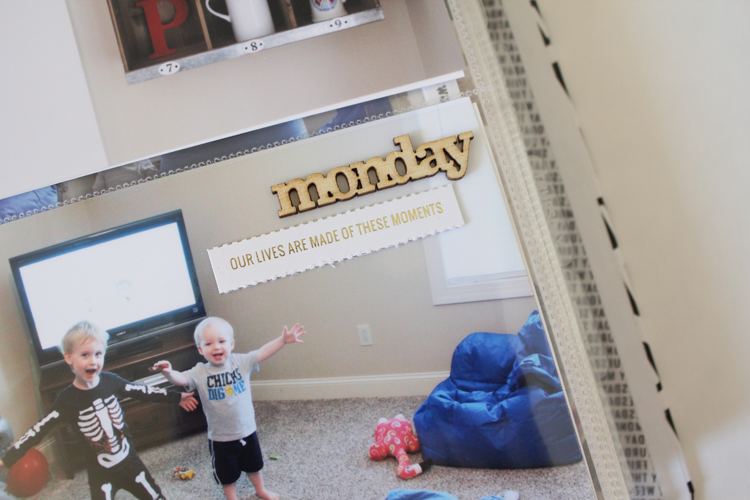
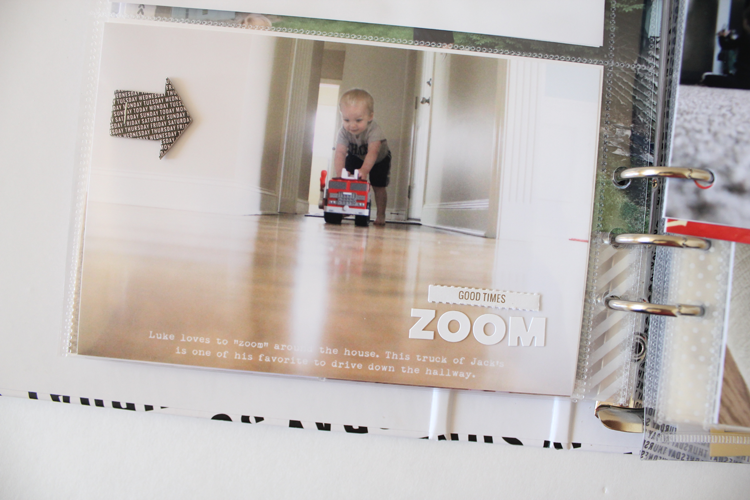
Here’s the back of that page protector. More every day photos. :) The “ZOOM” is from alphabet stickers in the kit and so is the chipboard arrow. I, of course, whipped out my tiny attacher to attach some embellishments here and there. 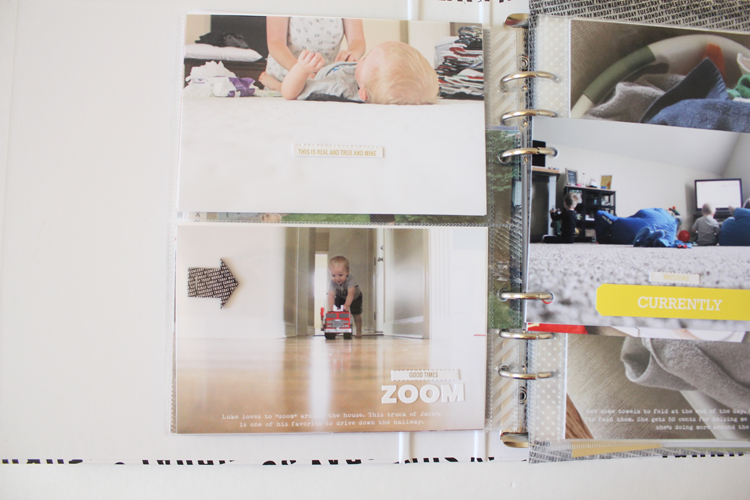
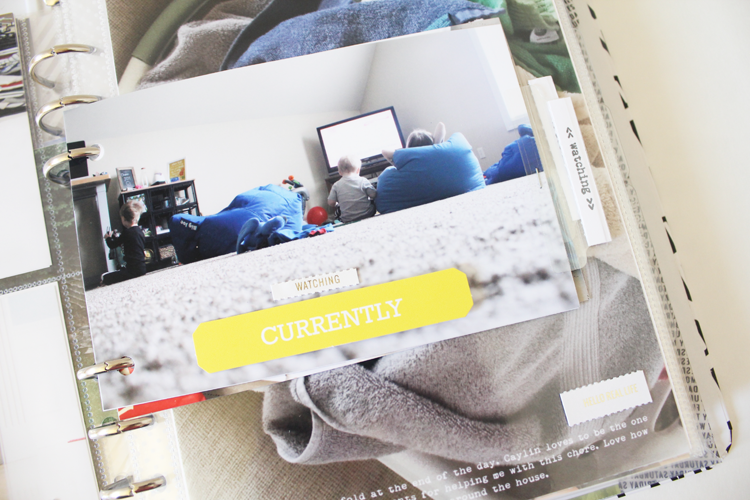
Here are yet some more 4×6 photos I had for the day that I wanted to include. I did the same thing as I did above. “CURRENTLY” die cut from the kit. I used some foam dots on it to give it a bit of dimension.
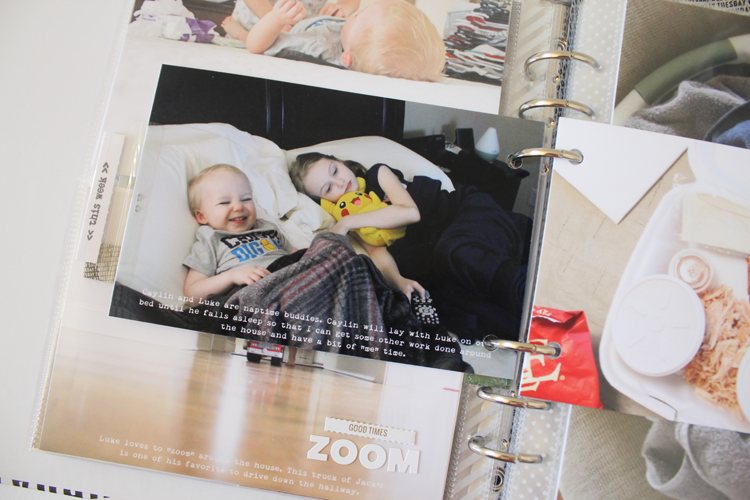
Here’s the back of the above photo. :)
Another 4×6 photo set.
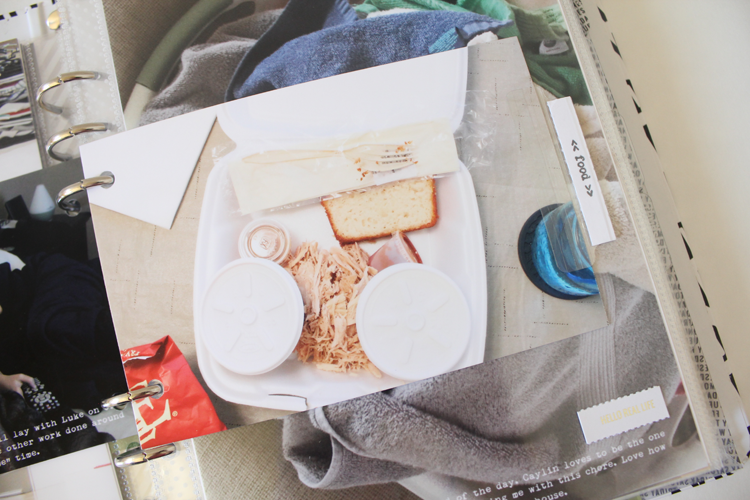
And here the back of it.
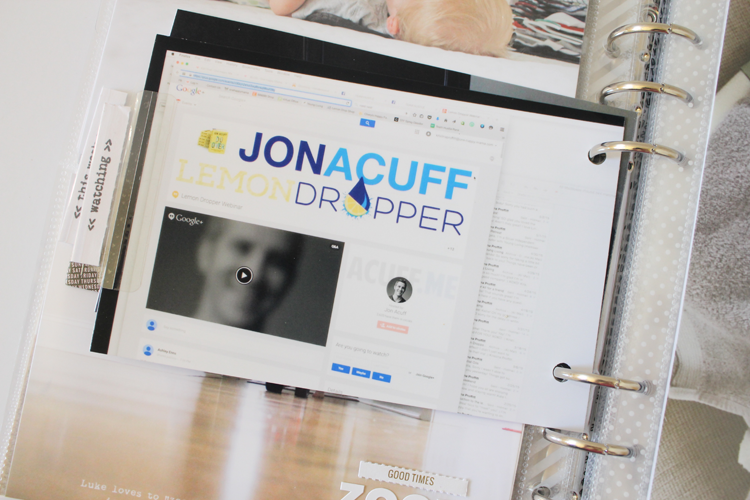
And lastly, I ended the week with another 6×8 photo.
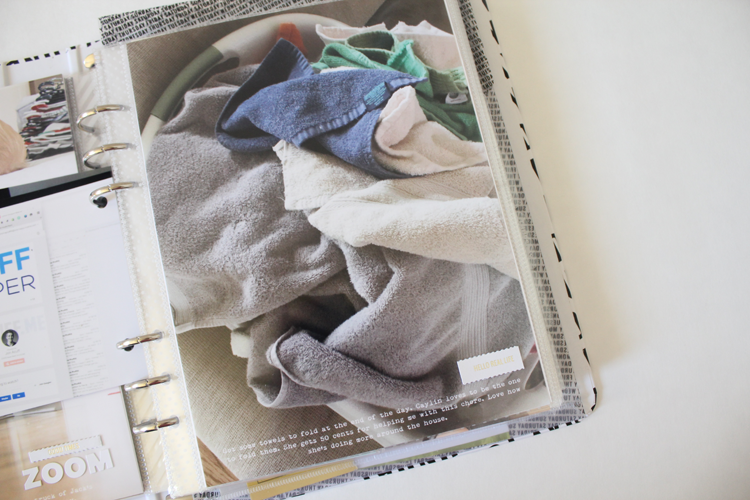
There you have it, friends! The first week of my WITL album for 2015. I’ll be sharing more soon! Have a great weekend!!

Week in the Life Album: Tuesday
November 24, 2015 at 3:23 pm[…] sharing the Tuesday pages from my Week in the Life album. You can find Monday’s pages HERE and I’ll be adding them all to the sidebar WITL graphic so that you can see them as I add […]
lipsense distributor
September 22, 2016 at 12:48 pmVery soon this site will be famous amid all blogging
and site-building people, due tto it’s pleasant articles or
reviews