Hi there!
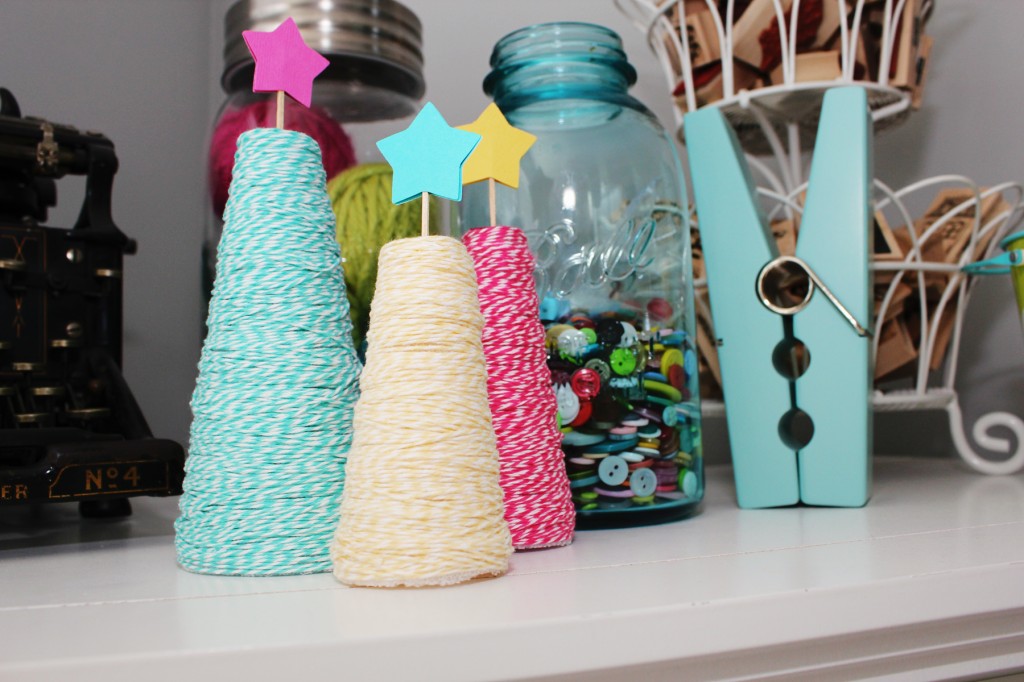
I wanted to share this cute and easy project with you all since Christmas is just around the corner and if you’re like us – you have already gotten your Christmas decorations up this past weekend OR you’re very close to putting them up. These would make a cute decoration to add to your mantle.
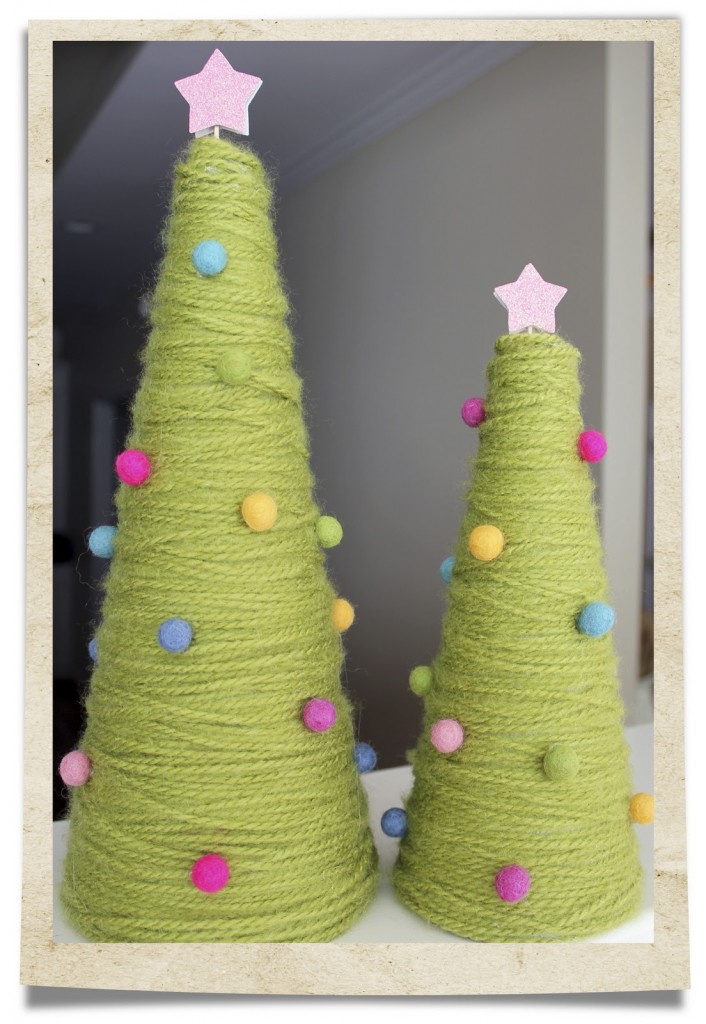
 The above trees are a spin-off of these yarn trees that I did last year:

Both are incredibly easy to do and take very little supplies to make! The neat thing is that the above yarn trees are one of the MOST searched thing on my blog AND they’ve gotten “pinned” on Pinterest quite a bit and have brought lots of new readers to my blog! How cool is that?! Funny how something like yarn trees can do that! Love that! So if you found my blog that way, awesome! So glad you’re here!
I wanted to post about them again here on my blog and also show the little twine version I created since I made the yarn trees for a design team last year that I’m no longer on.
Ok, so to make those cute trees this is what you will need and what you do:
Twine Trees
Supplies:
- Rolls of twine in a variety of colors (I get my awesome twine from The Twinery. Check them out!)
- Styrofoam cones (in whatever sizes you’d like) Mine are THIS brand.
- Star punch
- Cardstock
- Spray adhesive
- Toothpicks
- Adhesive
- Marker or paint to match twine color
What you do:
- Start by taking the cone you want to work with and spraying adhesive on it in a well-ventilated area. I stepped outside and sprayed mine.
- Take your twine and just start to wrap it around and around the cone – starting from the top. It doesn’t have to be perfect. I love the cozy handmade feel to these so don’t waste your time going around and around perfectly every time. You can always go back around and cover any bare spots once they appear.
- Just continue to go around and around with the twine and once you are done just snip the end of the twine and the spray adhesive you have on the cone will hold that end piece securely to the cone.
- Then take a marker (or paint) and you can color or paint the very top of the cone that there is no twine on since that area is flat and too difficult to wrap twine on.
- Then punch out two stars in whatever color of cardstock you’d like and sandwich in between them a toothpick with some adhesive.
- Then just stick the star into the top of your sweet twine tree.
See how simple they are to make? They turn out super cute, too especially with all of the cute twine colors at The Twinery!
Here’s a recap of what you need and how you create the yarn trees.
Yarn Trees
Supplies
- styrofoam trees
- yarn (I used some really fuzzy yarn for an even more whimsical feel)
- hot glue gun (or spray adhesive)
- felt
- toothpicks
- glue dots
- star punch or star die cuts
- felt balls (I got mine HERE)
All you do is start by tracing the bottom of each tree on your felt. I used some dark brown felt, but you can use any color since you won’t really see this felt – it’ll just cover up the styrofoam on the bottom protecting any surface that you place it on. Once you have the circles cut for the bottoms – hot glue them on each tree.
Next get your yarn ready, put a bead of hot glue along the very bottom of the tree base and then place your first row of yarn on it. Be careful not to burn your fingers! ;) You can do a little at a time to be sure you don’t. ;)
Go around the bottom with the yarn and then once you have that first row secure, continue wrapping and wrapping the yarn all the way up the tree. You don’t even have to wrap it perfectly – I had my yarn overlapping, etc., and it turned out cute and whimsical. This craft isn’t suppose to be difficult and stress you out – only fun with cute results! ;)
Once you get to the top, clip off the yarn right before the very tip of the styrofoam tree, unless your tree has a pointy top. If it does – just continue wrapping it and clip it off and secure it down with glue. If your tree is like mine and had more of a flat top – what I did was clip off the yarn once I got to the top and then put some glue on the top of the tree and then starting in the center, I started with the yarn and then wrapped it in a circular pattern until the top styrofoam was covered. I hope that makes sense! Ha!
Then for a cute touch, I added some felt balls that I had to the tree for little ornaments. You could very easily just leave these trees bare for a simple look – I wanted a bit more whimsy so I put the felt balls on the tree. You can be creative and use other things too like buttons, pom pom balls, jingle bells, etc.
Lastly, I punched out two star for each tree using a star punch and some pink glittered American Crafts cardstock and then I put a super strong glue dot on one star, placed the toothpick on top of that glue dot and then added another glue dot on top of the toothpick and then added the other star on top of it. Then I stuck the toothpick into the top of the tree.
Voila. Cute Christmas yarn trees.
So I hope you have some fun with these and take some time this holiday season to create a simple, cute crafty tree, whether it be the twine one, the yarn one or both!
Have a blessed rest of the day!
